
In celebration of Earth Day, I thought I'd do some kind of upcycle craft using the hundreds of plastic bags I have around the house, and since I've lately been in a crocheting kinda mood, we have a plarn tote. Mostly, when I mention plarn to people, they say "What?" It's basically yarn made out of plastic bags. So Plarn = Plastic + yarn.
To make plarn, all you do is fold the plastic bag so the fold follows the vertical line, and cut to make loop like strips of plastic (about an inch wide). Then you join those strips by using what I think is called a reef knot. Here's a youtube video of the process: http://www.youtube.com/watch?v=hdTm2V4ssvY
And some pictures of making plarn. I started out with using scissors, but found soon after that using a rotary cutter makes things go just a tad faster. Also, don't pull so fast or tight, because the plarn will break. when this happens, I either just discard that loop or I tie it back together (IMO, tying it back together makes the crochet project look less clean).

You run thru a lot of bags, so it's your choice whether you want to make all the plarn at once, or make them a few bags at a time. I opt for a few bags at a time, to rest my hand from crocheting so much in one sitting.

In this tote project I ended up using 39 bags. I kept track of the bags by keeping the bottom strips of the bags and tying every 10 together.
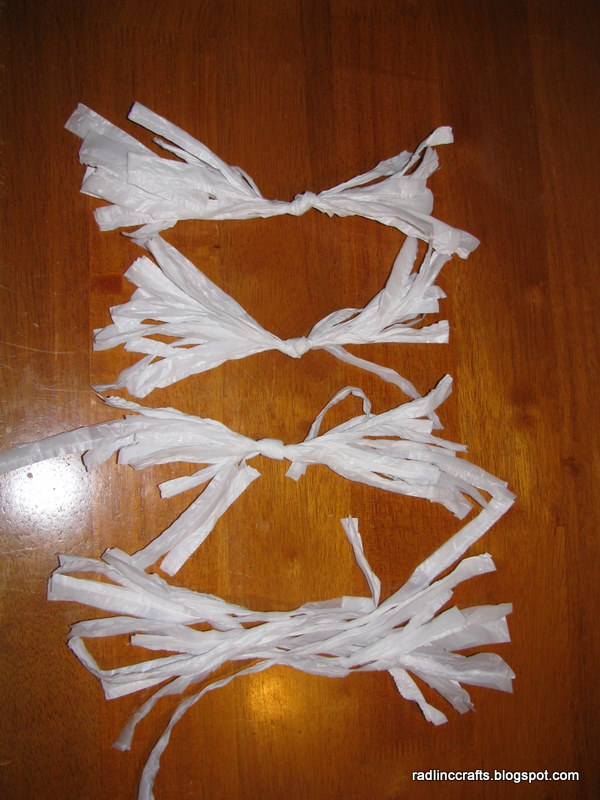
When you have the plarn, you can begin using it like any other yarn. I felt I needed to use a larger crochet hook, so I used one that's size 11.5, I've seen others use a smaller hook with equal success.

Here's the general pattern, all done with single crochets.
1. chain the length of the bottom of the bag.
2. turn and sc on the rest of the row's chains
3. continue turning and single crochet til you've reached the desired bag bottom.
4. When the desired rectangle has been met, crochet around the rectangle by doing sc around, and 2 sc for each corner.
5. Continue to sc around and around the rectangle til you reach the 4 rows less than the desired bag depth.
6. On the next row, you'll want to create spaces for the handles. First mark the areas where you want the handles by putting yarn, or a stitch marker in place. *Sc til the marker is met. From the marker, chain the amount of stitches on the previous row + 5 and sc to join on the next stitch marker.* Repeat til the row is complete.
7. On the next (last) 3 rows, sc all the way around. Finish Off.


HAPPY EARTH DAY!!!


